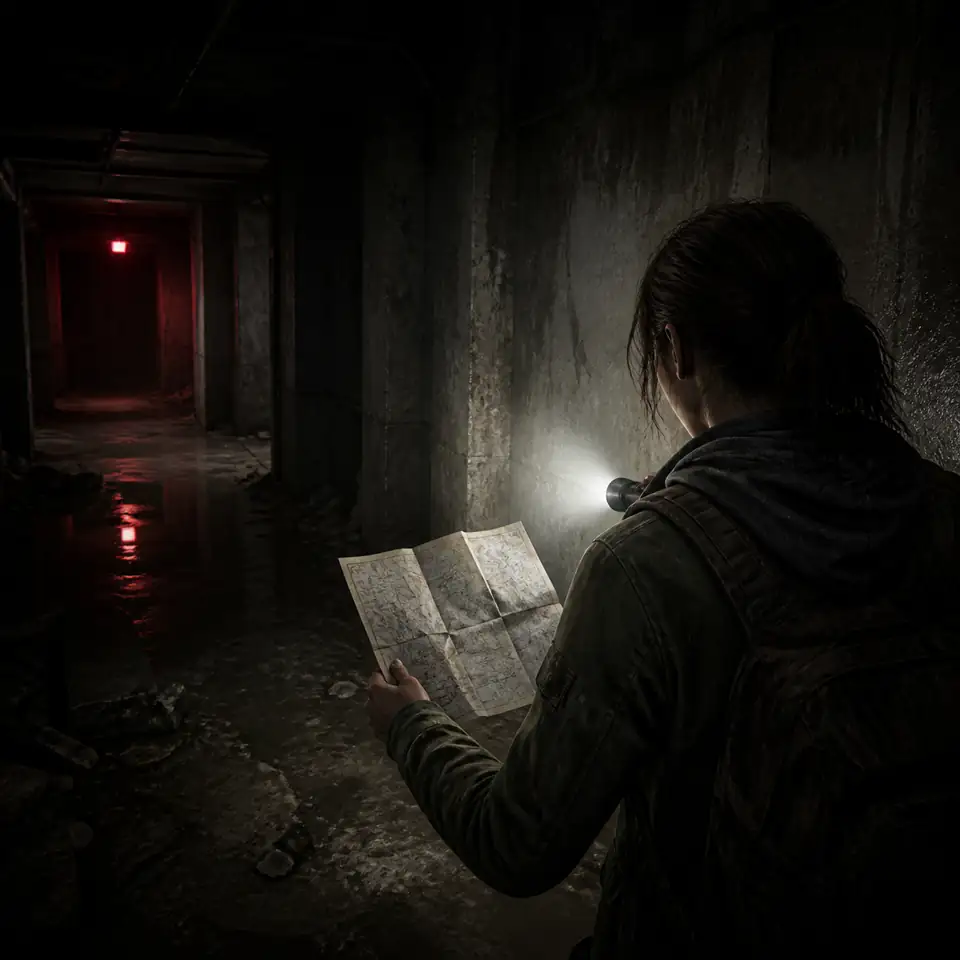
What solo play means in No More Room in Hell 2
Solo play changes the shape of every decision because there is no second person to hold a doorway, remember a turn, carry a spare treatment item, or confirm that the group should leave. That does not mean every run must be slow. It means speed has to come from fewer unknowns. A short route you remember is usually more useful than a longer route that contains one extra loot stop and no reliable fallback.
The current field-manual brief records a 1.0 release lane and two listed modes, objective and survival. Treat those labels as the starting point for a check, not as a promise that every platform menu or patch behaves identically. If you are asking whether a solo approach is possible, separate three questions: can you operate without squad support, does the current mode offer the kind of run you want, and does the current build expose an offline or single-player option? The word solo answers only the first question.
Start with the decision you want to practice
A first solo attempt works best when it has one learning target. Choose route reading if you often get lost, inventory discipline if you carry too much, infection timing if you delay treatment decisions, or extraction if you finish the objective and then overstay. A run can still succeed while teaching you one of these. It does not need to solve the entire game at once.
Step-by-step: how to start a solo run
Use this sequence at the menu, during the first move, and again whenever the run changes state. It is a field method rather than an official checklist, so adapt it when a current patch changes the available options.
- Choose a single commitment. Decide whether this run is about an objective or survival, then name the next meaningful action in plain language. "Reach the marked building and return" is easier to follow than "search until the map feels complete."
- Read the route before you spend it. Look for the first destination, one fallback space, and the direction you expect to use on the way out. You do not need a perfect map. You need an anchor, a turn, and a return idea.
- Pick a job, then choose equipment. A solo loadout should answer the route you actually plan to walk. If the route requires quiet information gathering, do not fill every slot with tools that only matter after a fight. If recovery is the weak point, protect one clear treatment option.
- Move in short loops. Travel from anchor to anchor, pause at a place where you can still recognize the way back, and update your plan only when a real event changes it. A new sound or blocked passage is a reason to reassess, not a reason to sprint blindly.
- Spend resources on the next decision. Keep enough capacity for movement, recovery, information, and the exit. Optional loot is valuable only when it changes what you can safely do next. A full inventory that hides your treatment choice is not an advantage.
- Set the exit trigger before pressure peaks. Choose a visible stop condition: worsening infection, a lost route, a depleted recovery option, or an unexplained detour. When the trigger appears, shorten the plan and move toward the fallback instead of negotiating with yourself in the most dangerous room.
Prepare a solo route you can remember
The easiest way to make a solo run readable is to reduce the number of names you have to remember. Give the route three labels: start, work point, and exit direction. The labels can be visual landmarks rather than formal map names. A stairwell, a lit doorway, and the road back are enough to make the route recoverable after a tense encounter.
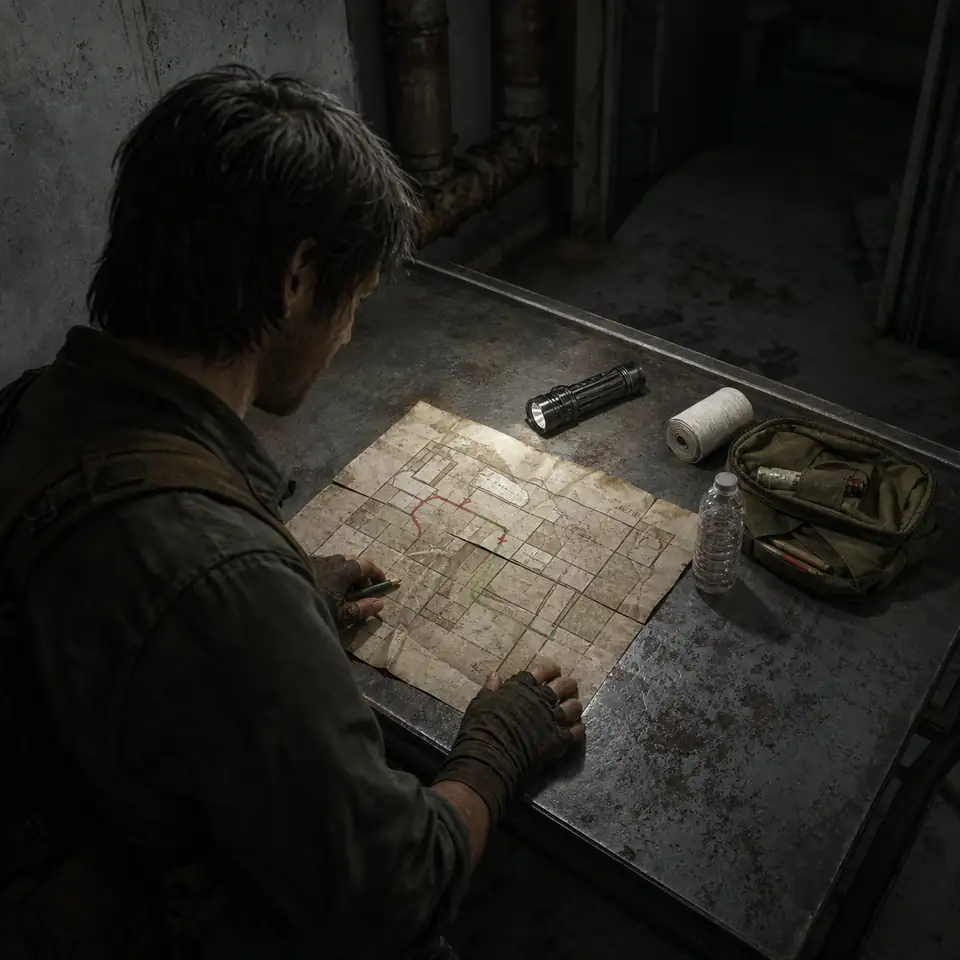
Use the first safe pause as a checkpoint
At the first pause, ask four questions in the same order: Where am I? What is the next action? What is my return direction? What would make this route no longer worth continuing? Repeating the same questions matters more than finding a clever new route every time. It creates a small mental reset before the next room supplies new noise.
If you cannot answer the return-direction question, you are already carrying too much uncertainty. Mark a visual feature, rotate your camera deliberately, or walk back a few steps until the route has a shape again. The goal is not to memorize every corridor. The goal is to prevent a short detour from becoming a brand-new search.
A route-reading table for solo decisions
Use the table as a quick diagnostic. It intentionally avoids pretending that a particular class, weapon, or location is permanently best; those details can change with the current build. What stays useful is matching the state of the run to the next decision.
| Run state | What to ask | Next action | Common trap |
|---|---|---|---|
| Route is clear | Can I name the work point and return direction? | Move to the next anchor and keep one fallback. | Adding a detour because the route feels easy. |
| Route is noisy | Did a new event change my original plan? | Pause, recover the landmark, and shorten the loop. | Moving faster while remembering less. |
| Infection or recovery is worse | What resource is now limited? | Trade optional progress for a safer exit. | Saving every recovery option for a later moment that may not arrive. |
| Objective is complete | Is the return path still legible? | Turn progress into an extraction plan immediately. | Starting a second objective because the first one worked. |
| Fallback is lost | Can I explain the way back without guessing? | Stop pushing and restore a known route. | Treating uncertainty as a combat problem. |
Manage infection and survival state alone
When a squad is present, a bad state can sometimes be absorbed by spacing, callouts, or another player taking the next job. Alone, the state belongs to the route. That is why infection management should not be treated as a separate medical submenu that you open only after everything else fails. It should influence whether the next room is worth entering.
Use a simple three-level reading. In a stable state, continue toward the named work point and keep the fallback intact. In a pressured state, stop taking optional fights and spend attention on the return direction. In a failing state, the objective is no longer the only goal; preserving a way out becomes the goal. The infection and gene therapy guide covers the site's broader mechanic notes, while this page applies the same idea to a one-person route.
This is also where many solo players confuse bravery with value. A treatment item, quiet pause, or retreat does not need to produce visible progress to be useful. It buys back information. If the next action is only attractive because you already spent time reaching the room, the sunk travel time is not a reason to continue.
Example: a first-time objective run
Imagine a first-time reader starts an objective run and wants a practical answer to "what do I do first?" The opening plan can be deliberately small:
- Choose the objective mode shown by the current build and write one sentence for the run: reach the first marked work point, learn the return landmark, and leave if the route becomes uncertain.
- At the starting area, identify a visual anchor that will still make sense when you return. Avoid treating every doorway as equally memorable.
- Carry the tools that solve the next decision rather than every tool that might be useful later. Keep recovery visible and leave space for a route-changing item.
- Approach the work point using one planned turn. If the turn does not look right, return to the anchor instead of improvising a second turn immediately.
- When the task is complete, pause before looting. Confirm that the route back is the same route you intended to use. If it is not, the run has changed state.
- Exit while the run is still explainable. The lesson is not how much you could have carried; it is whether you could describe why each move happened.
This example is intentionally conservative because a first solo session is a navigation test. Once the route is familiar, you can add one optional branch and measure whether it actually improves the run. Add changes one at a time so a failure still tells you something.
Example: when the route stops making sense
A common scenario is reaching a room that was supposed to be a quick stop, then hearing a new threat, losing the visual landmark, and noticing that the recovery choice is no longer obvious. The wrong response is to invent a new objective on the spot. The better sequence is:
- Stop moving long enough to name the last place you knew.
- Check whether the original work point still matters more than the safe return.
- Choose the nearest known anchor, not the most interesting unexplored doorway.
- If the anchor cannot be recovered, treat the route as failed and take the shortest defensible exit.
That sequence converts a vague feeling of panic into a decision tree. It also gives you a useful post-run note: “lost the route after the second turn” is actionable, while “the map was confusing” is not. Write down the exact event that made the plan unclear and change one thing next time.
Know when to leave
Extraction is not a reward that begins after all optional work is finished. It is a route decision that should exist before the objective is complete. The site's extraction guide separates approach, commitment, and exit checks; for solo play, the important addition is to decide which of those checks you can no longer afford to repeat.
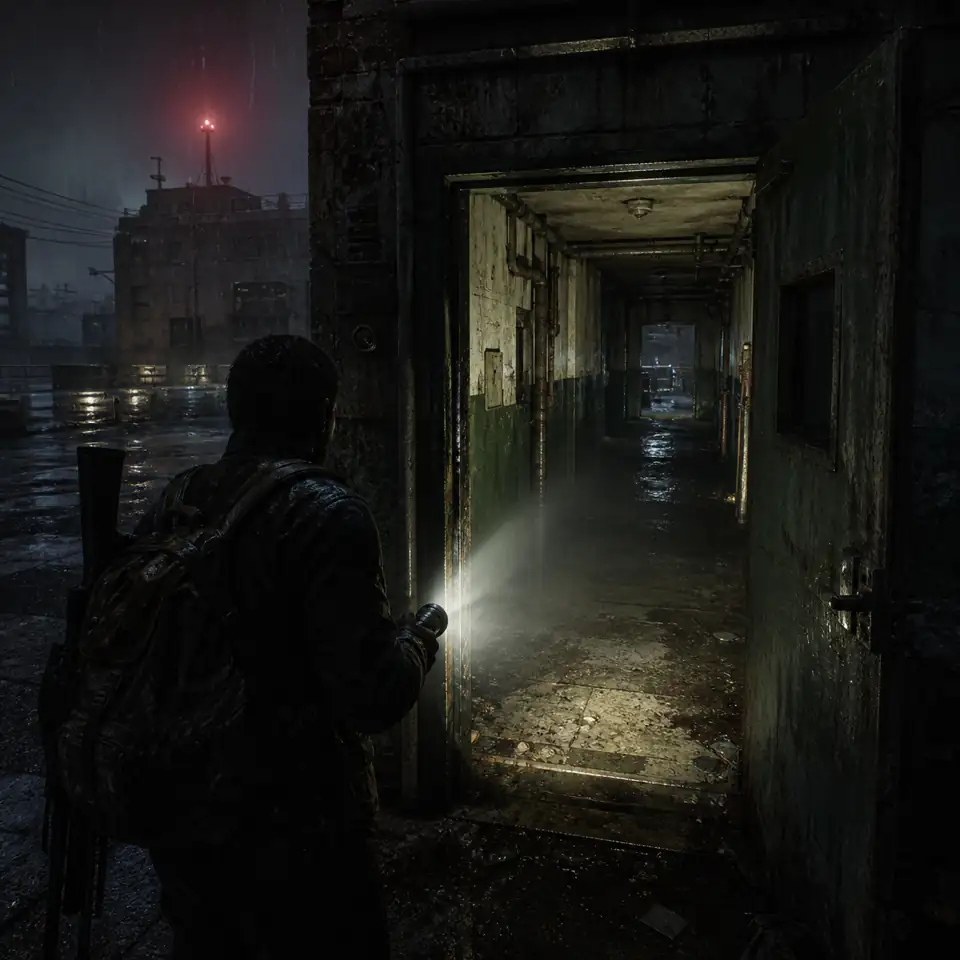
Use an explicit stop rule
A good stop rule is observable and early enough to use. "Leave when I feel nervous" arrives too late. "Leave if I lose the return landmark, if infection worsens, or if the next room is only optional" can be applied while you still have choices. You can revise the rule between runs, but do not renegotiate it after the trigger appears.
The best solo extraction is often the one that feels slightly early. It turns a successful route into a repeatable route. Repetition is valuable because it improves map memory, and map memory reduces the amount of attention you must spend on every later run.
Solo versus squad: what changes
Solo and squad play can share the same game space while demanding different priorities. A squad can distribute information and tasks; a solo player must make those responsibilities visible in their own routine. Use this comparison when a squad habit keeps failing in a one-person attempt.
| Decision | Solo priority | Squad priority |
|---|---|---|
| Route | One remembered loop and one fallback. | Shared callouts and a formation that can recover. |
| Inventory | Visible recovery and only the next useful option. | Assign carrying, protection, and support jobs. |
| Information | Pause to rebuild the route before moving. | Confirm the plan aloud and keep the group together. |
| Infection | Shorten the plan as soon as the state worsens. | Rebuild the group plan around the affected player. |
| Extraction | Use an earlier personal trigger. | Use a shared threshold that everyone understands. |
Common mistakes and the correction for each
1. Treating solo as a smaller squad run
Copying a squad route often leaves a solo player with too many tasks and no one to confirm the plan. Replace the squad route with a shorter loop, one job, and a named fallback.
2. Exploring before choosing the return direction
Discovery feels productive, but it can spend the very information that makes the route safe. Decide how you will leave before the optional branch begins. If you cannot answer, skip the branch.
3. Filling the inventory because a slot is open
An empty slot is not a problem that needs filling. Keep capacity for the next decision and for the item that turns a bad state into a manageable one. Review the inventory at each checkpoint, not only at the start.
4. Waiting for certainty before turning back
Solo play rarely announces the exact second a route has failed. Use a threshold instead of waiting for proof. A known retreat with incomplete progress is usually more useful than a complete objective with no readable exit.
5. Treating a dated live number as a promise
Player counts, platform availability, prices, and mechanics can change. A live readout is context for deciding whether to investigate a route, not evidence that the same figure will be present when you queue. Keep the date attached to the number.
Use the Live readout as context
The supplied field-manual snapshot was captured on August 16, 2026. It recorded 7,346 players online at capture, a 12,206 24-hour peak, 8 co-op players, a 1.0 release lane, and 2 modes: objective / survival. Those figures answer the brief's evaluation scenario: they show the kind of dated context a reader can check before committing time, but they are not a permanent queue guarantee.
For a current figure, use the site's player count tracker and read its timestamp and range. For solo planning, the number matters indirectly. A larger population may make co-op easier to find, while a lower number may change how much you value a self-contained practice run, but neither number tells you whether your next route is readable. That still comes from the platform, route, and survival state together.
The compact pre-run checklist
Save this as the short version of the guide. If you cannot answer a line, pause before you queue or before you move deeper.
- What is the one objective for this run?
- Which mode does the current build show: objective or survival?
- What is my first visual anchor?
- Where is the fallback and which direction is the way back?
- Which item answers the next decision rather than a hypothetical one?
- What infection or recovery state would make me shorten the plan?
- What exact event makes me leave?
- Can I describe the route in three landmarks before moving?
FAQ
What should a first-time reader know about no more room in hell 2 how to play solo?
Start with a short, remembered route and a clear exit trigger. The fetched guide describes No More Room in Hell 2 through role choice, map reading, infection management, and extraction; a solo player has to keep all four visible while making one decision at a time.
Can you play No More Room in Hell 2 solo?
You can plan and play without relying on a squad, but the current mode and platform behavior should be checked in the live build. A solo approach and offline availability are different questions, so do not treat one as proof of the other.
How can someone evaluate no more room in hell 2 how to play solo before using it?
Use dated context before making a decision. The supplied Live readout recorded 7,346 players online at capture, 12,206 as the 24-hour peak, 8 co-op players, the 1.0 release lane, and two listed modes: objective and survival.
Is No More Room in Hell 2 offline or single-player?
Do not infer offline support from "solo." Check the current in-game menu, official store listing, and release notes for the build you use. This page explains how to make decisions when you are operating alone; it does not turn a changing platform detail into a permanent claim.
Which detail on the official page matters most when comparing no more room in hell 2 how to play solo?
The useful detail is the intersection of platform, route, and survival state. A route that works on paper can still fail when the current platform, objective, infection state, or return path changes.
What is the most common solo mistake in No More Room in Hell 2?
Continuing after the plan becomes unclear is the most expensive mistake. Set a fallback and a stop rule before pressure peaks, then treat a retreat as useful information for the next run.
Summary
To answer no more room in hell 2 how to play solo in one sentence: choose one job, remember one route, carry for the next decision, react to infection and survival state early, and leave while the way back is still explainable. The goal is not to remove all risk. It is to make the next run easier to read. Start with the broader solo survival guide, then use this page when you need the step-by-step launch and extraction routine.
Sources and date boundary
The article uses the supplied brief's August 16, 2026 field-manual readout and treats changing mode, platform, price, and player-count details as time-sensitive. The official store and release pages are the places to re-check before installing or assuming that a current option remains available.