Evidence boundary: the tiers below describe repeatable situations, not an official ranking. Weapon balance, spawn rules, attachments, and ammunition can change after an update. Use the weapons guide for operation details such as throwables, then return here for comparison.
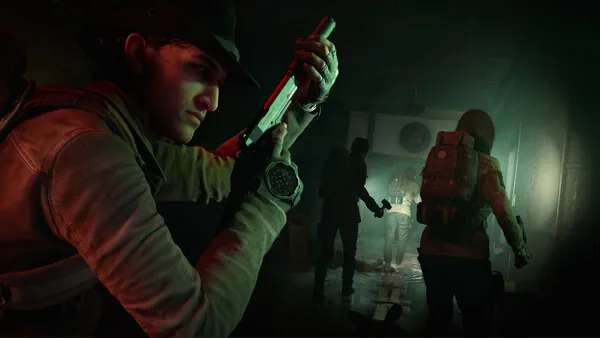
How this No More Room in Hell 2 weapons tier list works
A tier list is useful only when its rules are visible. S tier means a category repeatedly solves a high-risk problem with few conditions. A tier means it is dependable when the route and spacing support it. B tier means it is valuable but needs a setup, a clear objective, or a teammate covering its weakness. A lower tier does not mean “bad”; it means the item is costly to force into a situation where another tool is simpler.
The comparison uses five questions: can the weapon preserve a retreat path, how much noise or ammunition does it spend, how much space does the player need, does it protect a teammate who is interacting with an objective, and does it still help when the extraction window collapses? These questions are more stable than a damage number copied from an old build.
S tier: solves a high-risk problem
S tier is reserved for a tool that changes the squad's options. A firearm that keeps a long lane safe, a controlled melee weapon in a room with a retreat angle, or a proximity tool placed before a choke can all be S tier in their intended context. None of them is S tier everywhere. Calling the tier “situational S” prevents the table from becoming a promise that one item wins every encounter.
A and B tier: strong with the right route
A tier choices are the dependable middle of a loadout. They do their job without requiring a perfect map, but they still have a cost. B tier choices become excellent when the squad plans around them: a narrow doorway, a known objective hold, a quiet interior, or a partner who can watch the rear. If a player cannot name the condition that makes a B tier choice useful, it is probably the wrong pick for that run.
Why there is no permanent best weapon
The word “best” hides the mission. A weapon that protects a hallway may be a poor choice for a silent search; a throwable that saves an extraction may be wasteful against one isolated target. The game also changes. The official store copy supports the existence of professional and improvised weapons, scarce ammunition, attachments, and throwables, but it does not guarantee that a current balance value will remain unchanged.
No More Room in Hell 2 weapons tier list
| Role or example | Tier | Best use | Cost or failure mode |
|---|---|---|---|
| Controlled melee: crowbar or hammer in a clear interior | S in its lane | Quiet work against a manageable target while a retreat path remains open. | Bad spacing, stamina loss, or a second threat entering from behind. |
| Firearm with a sight line and a defined reserve | S/A | Distance, a dangerous target, or an emergency interruption that melee cannot safely cover. | Noise, ammunition use, reload exposure, and tunnel vision. |
| Proximity bomb at a planned choke | S for route control | Buy time for an objective, rescue, or extraction approach. | Wasted placement, friendly-fire risk, or losing the item before the real hold. |
| Molotov or area denial throwable | A | Separate a crowd or create movement space when the team agrees on the direction. | Fire and panic can close the only safe path if it is thrown without a callout. |
| Unverified damage or “highest DPS” claim | Unranked | Wait for a current, reproducible data source before turning a number into advice. | False precision can send a squad into a patch-sensitive build. |
This table ranks jobs, not every item in the game. It is deliberately narrower than a searchable inventory database. When the official listing or a patch note names a new weapon, place it by the job it performs and record the date of the change instead of silently shifting every tier.
Melee weapons tier list
For a No More Room in Hell 2 melee weapons tier list, start with space and recovery rather than a guessed damage order. A crowbar or hammer can sit in the situational S lane when the player can keep a doorway visible and retreat after each swing. The same weapon drops to B when the room is crowded, the formation is split, or an objective player cannot afford to be interrupted.
Use the first strike to create a decision, not to start a chase. If the target falls and the lane stays clear, keep the noise and ammunition budget intact. If the target does not fall, call the change and let the firearm holder cover the exit. A melee tier is earned by preserving the next ten seconds, not by winning one animation.
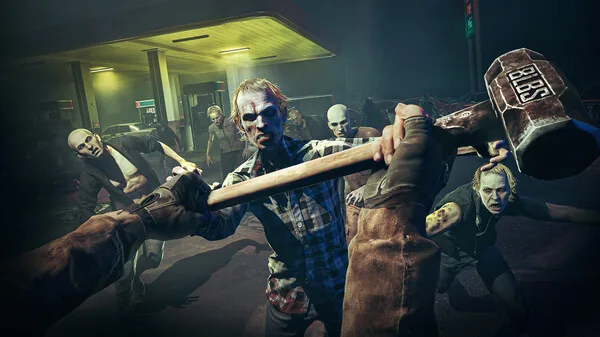
Gun tier list: distance, interruption, and reserve
The practical No More Room in Hell 2 gun tier list begins with a sight line. Put a firearm in S or A when it protects a long lane, stops a target before it reaches the formation, or covers an interaction that cannot be cancelled safely. Keep it lower when the map forces close turns, the player is likely to reload under pressure, or the team has no reserve for the return route.
Attachments should reinforce a known job. The official Steam description mentions sights, scopes, and suppressors, but it does not promise that a scope is always better indoors or that a suppressor erases every sound problem. Treat an attachment as a trade: it can improve information or control while changing handling, space, or confidence. The classes guide can help decide which teammate owns that job.
Throwables and route control
Throwables are high-tier because they can change geometry, not because they always produce the biggest number. A proximity bomb is strongest when the team has named the choke and knows which side will be used afterward. A Molotov is strongest when the fire line creates a deliberate gap and every teammate knows where not to stand. In both cases, the item is part of a route plan.
- Call the direction. Say where the squad will move after the throw.
- Protect the thrower. The player placing the tool should not be the only person watching the rear.
- Keep a reserve. A successful early throw does not prove that the final extraction will be calm.
- Recheck the route. Fire, noise, and a blocked doorway can make the original plan invalid.
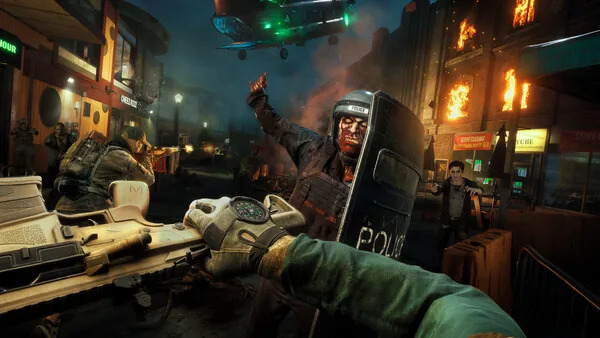
Build a loadout from the mission backward
| Mission pressure | Start with | Keep in reserve |
|---|---|---|
| Quiet interior search | Reachable melee and a player watching the exit. | One firearm for a lane that suddenly opens. |
| Open street or long sight line | Firearm with a clear target rule. | Enough ammunition for the return, not only the push. |
| Objective hold | Route control tool and a simple fallback. | A way to move if the choke becomes unusable. |
| Extraction approach | The most familiar reliable weapon. | A throwable or firearm reserve for the final compression. |
Pair the list with map notes before choosing a tier. A good weapon on paper may be awkward on a route with short turns and no fallback. Then check party-size scaling notes so a loadout test is not mistaken for a universal player-count formula.
Solo, squad, and extraction decisions
Solo play raises the value of information and recovery because no teammate can repair a missed call. Favor a weapon you can use while keeping the exit visible, and read the solo guide before copying a squad's division of labor. In a squad, the highest tier is often the item that lets another player interact, heal, revive, or carry the objective without losing the route.
At extraction, stop asking which weapon has the best theoretical output. Ask whether the next reload, swing, or throw leaves a path back. A tier list earns its place when it shortens that decision and makes the reserve visible.
What this guide does not claim
This page does not claim a complete weapon database, exact damage stats, a permanent best melee weapon, or a hidden developer formula. The Similarweb phrase weapon damage stats signals demand, but the repository has no verified current numbers to publish. Patch notes, an in-game test protocol, and a dated data table would be needed before adding numeric tiers. Until then, treat the categories above as a transparent field method.
FAQ
What is the best weapon in No More Room in Hell 2?
The best weapon is the one that solves the next route problem without consuming the reserve needed for the objective or extraction. Use the situational table instead of a permanent winner.
What is the best melee weapon in No More Room in Hell 2?
A crowbar or hammer can be a strong choice when the room is controlled and a retreat path stays open. The tier drops when spacing, stamina, or a second threat makes a swing unsafe.
Is there a No More Room in Hell 2 gun tier list?
This guide provides a role-based gun tier list: firearms rise when they protect distance or interrupt a dangerous target, and fall when ammunition, reload exposure, or short turns make them costly.
Does this page include weapon damage stats?
No. It intentionally avoids unsupported numeric damage claims. Check a current official or reproducible test source before treating a stat as a ranking.
Should I use the same tier for solo and squad play?
No. Solo play values information and self-cover; a squad can divide jobs and make a route-control tool stronger. Re-evaluate the tier against the mission and party size.
Summary
A useful No More Room in Hell 2 weapons tier list is a decision aid, not a frozen leaderboard. Put controlled melee, a defined firearm reserve, and a planned route-control throwable high when they solve the specific pressure in front of the squad. Keep unsupported damage numbers unranked, document the patch boundary, and link the comparison back to the practical weapons, map, class, solo, and extraction guides.